maandag 7 juli 2014

Blog 9: Low light photography

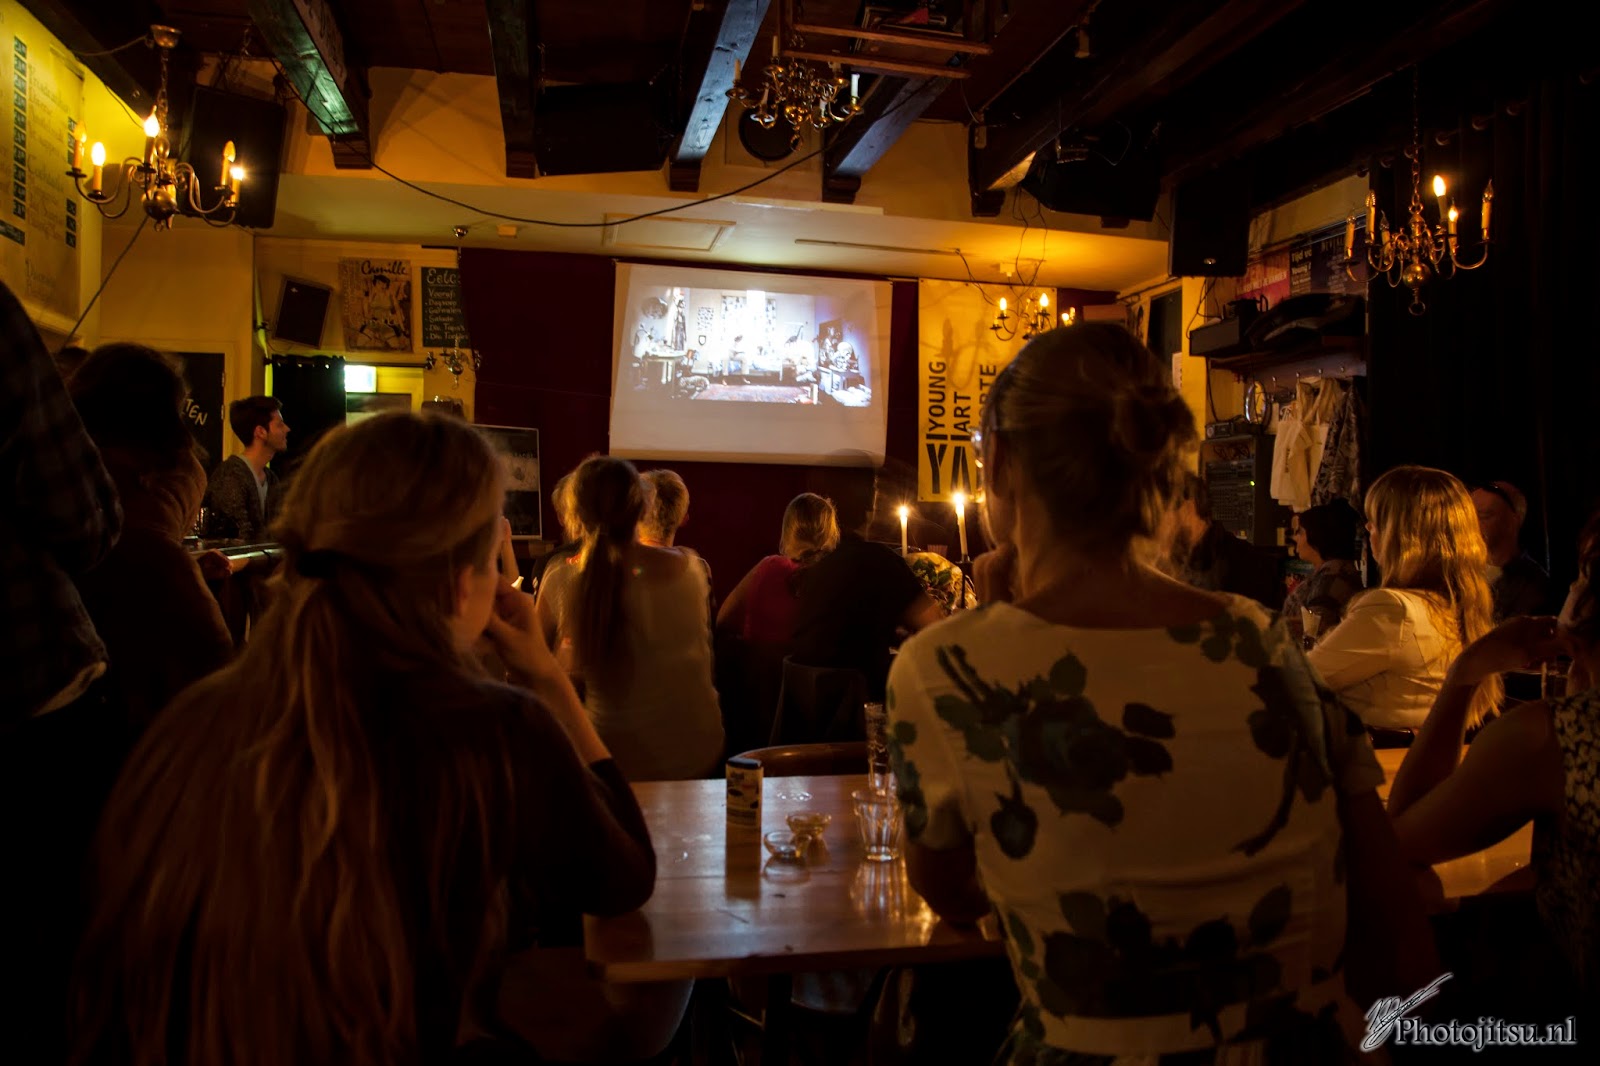
It happens to us all. You get an assignment or are asked to photograph during an event. Arriving on the scene, you realize that the only available light you get is candle light. Furthermore, the room is crowded and small. You think: no problem, I will use my flash. The result: gone is the atmosphere, the front row is too light, the back row too dark. What now?

Lenses
The first thing you should make sure is that you always bring a “fast” lens. Fast lenses are lenses that have small aperture values (i.e. F1.4 or F1.8). The smaller the aperture value, the less light you need for a good photograph. A 50mm F1.8 will cost you around 99 euros. There is a reason why they call it the “plastic fantastic”! For the photographs in this blog, I used a Sigma 35mm F1.4 Art. Remember to use wide angle lenses instead of tele ones. The minimum shutter speed for hand shot photographs is 1/shutterspeed which means that, when a 135mm lens is used, a shutter speed of 1/135s is necessary. In contrast, when you use a 35mm lens, the minimum shutter speed only has to be 1/35s, much longer! A disadvantage ofcourse, is that you have to get close to the subject.


Figure 1: Fast lenses will save you!

ISO
Don’t hesitate to increase the ISO on you camera. Normally, I never go above ISO400 on my Full Frame camera. However, in difficult lighting situations, ISO400 is not going to cut it. Not even when using a fast lens! Most photographs in this blog were taken using ISO800 or ISO1000. Modern software is perfectly capable to reduce noise in your photographs without a significant setback in sharpness. Keep in mind that noise is more apparent in dark areas of a photograph then the lighter ones.

 
Figure 2: ISO1000, well lit parts of a photograph suffer less noise then darker parts


Focus en composition
Because you will be working with a wide open aperture, your depth of field will be narrow. Even on a 35mm lens. This means that you don’t want to try making group shots with everyone in focus. It is not going to happen! Instead, focus on the individual. Not only will this make the atmosphere seem more palpable, it will also enhance your composition because the viewer has something that stands out to look at.

Figure 3: focus on the person in the middle

Figure 4: Focus on the candle

Flash vs tripod
If you do not own a fast lens, or if you don’t want to increase your ISO value, you have to choose to use either your flash or a tripod. I strongly recommend NOT using your popup flash because you do not have control over it. It just flashes. If you own a Canon Speedlight 580 EX or equivalent, you have far greater control over the situation. Use as little flash as possible. Aim the flash towards the ceiling or, if that doesn’t give you the desired effect, behind you. This will diffuse the light and make it look softer and you will keep most of the atmosphere.

Figure 5: flash towards the ceiling. ISO200, shutter speed 1/100s

If all the above fail, you might be able to use a tripod. Using a tripod however, might be tricky since there is not always enough space. Remember you can use tables and chairs as tripods as well! In addition, using a tripod (and with it, slower shutter speeds) will result in a sharp environment but blurred people! This might be cool as an effect, but it will create a rather one sided impression of the evening!

So, to summarize:
-         -  Use fast lenses
-        -   Up your ISO value, the software will sort it out
-        -  When using a flash, make sure to aim for the ceiling or behind you
-          - Focus on the individual instead of the group (because of the wide open aperture)

Well that’s it for today. I hope you had fun reading this blog and I hope you can use these tips to your advantage!  

For more blogs, or to see my photography work, hop on over to www.photojitsu.nl or like us on Facebook www.facebook.com/photojitsu. Until next time!



maandag 7 april 2014

Blog 8: Low Key photography

Blog 8: Low key portrait photography
Hello and welcome to my newest blogpost. Today I would like to discuss “Low Key portrait photogaphy”. I reckon everybody knows what portrait photography is, but I can imagine that not everyone knows what low key means. Low key is basically shooting with insufficient lighting, bei t in the entire photograph or a part of it. I will start off with two examples of low key portrait photography and then explain how I made these photographs and how you can too!


This is example one. In this photo (yes this is me, so it’s a selfie), insufficient lighting was used to create a low key effect on the entire body. The face and the left side of my body are clearly visible while at the same time, my legs and the right side of my body has dissapeared into the blackness. This gives the photograph a very distinct look. Some might argue that it makes people look more chique or “classy”. For me, it is a great way to cover up those extra kilo’s! Ofcourse the kilo’s reappear when you switch the lights back on.. Right, moving on.


Example two. In this example, insufficient lighting was used to create a low key effect on the face. As can be seen in this photograph, the left part of the face is highlighted while the right side is lost to the shadows. The amount of face lost can be adjusted by using a reflective screen, but I will speak about that in the next part of this blog. As in any form of portrait photography, focus on the eyes is very important. People truly speak through their eyes. By the way, this slightly older, balder and leaner version of me is my brother J.


These two photographs were made in the same way. The only difference was the placing of my studioflash and the reflective screen. The easiest way for you do practice low key photography is in a dark room with the use of a single external flash and a reflective screen. If the room is dark enough, the background will not matter. However, you might want to invest in a matte black background. I usually use the following setup:


In this setup, the flash will come from your right, lighting up the face and/or body of that person. The reflective screen will cause part of the face on the dark side to show some detail as in the following example.


The reflective screen has caused this woman her eye to light up. Odd, calling my girlfriend “this woman”. Ofcourse, the intensity of the light is controlled by adjusting the power of the flash. Professional flash equipment usually has the ability to adjust the power of the flash in several steps. You will have to experiment with different light intensities to determine what works best for you. If you want to remove the detail from you dark side of your model, simply remove the reflective screen (as with my brother).


The easiest way to learn low key is just by doing. You can use any off camera flash but I strongly suggest buying one or two professional flash units as they offer more control and are more powerful. I use the Lastolite Lumen8 F400, a 400 Watt flash unit, which is sufficient for small studio’s and not more then 2 or 3 people. Needless to say, more power means more light, suitable for example for large groups of people.

Well there you have it. My 8th blogpost! I hope you enjoyed the read and if you have any further questions, don’t hasitate to ask!

Here are some more examples:


Blog 15: The Orton Effect

The Orton effect One of the questions I get asked very often is; how come some of your photographs have such a dreamy look to them? Well...